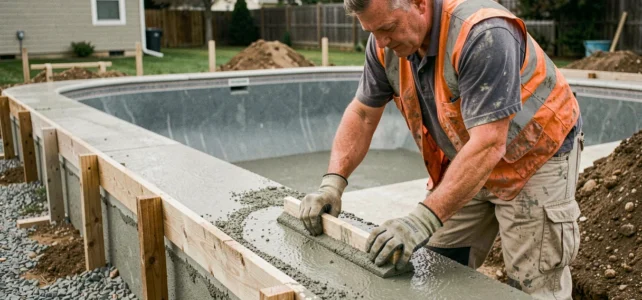
On a pool construction site, the concrete belt is often the area where mistakes can be costly. A poorly aligned formwork, undersized reinforcement, or concrete poured too quickly can lead to cracks in the coping during the first winter. This peripheral belt is not just a decorative frame: it locks the shell into the ground and distributes the loads from the deck around the entire perimeter of the pool.
Water Level and Shell Stabilization Before Pouring
We always start with a point that many guides overlook: the relationship between the water level in the pool and the moment when we pour the belt. The polyester shell deforms under the pressure of the backfill if it is not weighted down. Filling the pool at the same time as the backfilling stabilizes the structure and prevents the walls from buckling.
Specifically, we fill the pool in successive stages, keeping the water level slightly above the level of the external backfill. Pouring the concrete belt on an empty shell is a common mistake that can lead to lateral movement of the pool. The weight of the water acts as an internal counterweight, and it is this counterweight that ensures the shell remains perfectly positioned during the curing of the concrete.
Before assembling the formwork, we also check the flatness of the upper lip of the shell with a laser level. A gap of a few millimeters can still be corrected at this stage. Once the concrete has set, any corrections become a project within the project.
For a detailed approach to the construction of a concrete belt for a shell pool, the principle remains the same: do not touch the formwork until the pool is weighted and stabilized.
Formwork for the Concrete Belt: Dimensions and Fixing
The formwork defines the section of the belt. In practice, we work with formwork boards or OSB panels held in place by clamps and props. The inner face of the formwork rests against the lip of the shell, and the outer face rests on the compacted ground or on the retaining wall of the excavation.
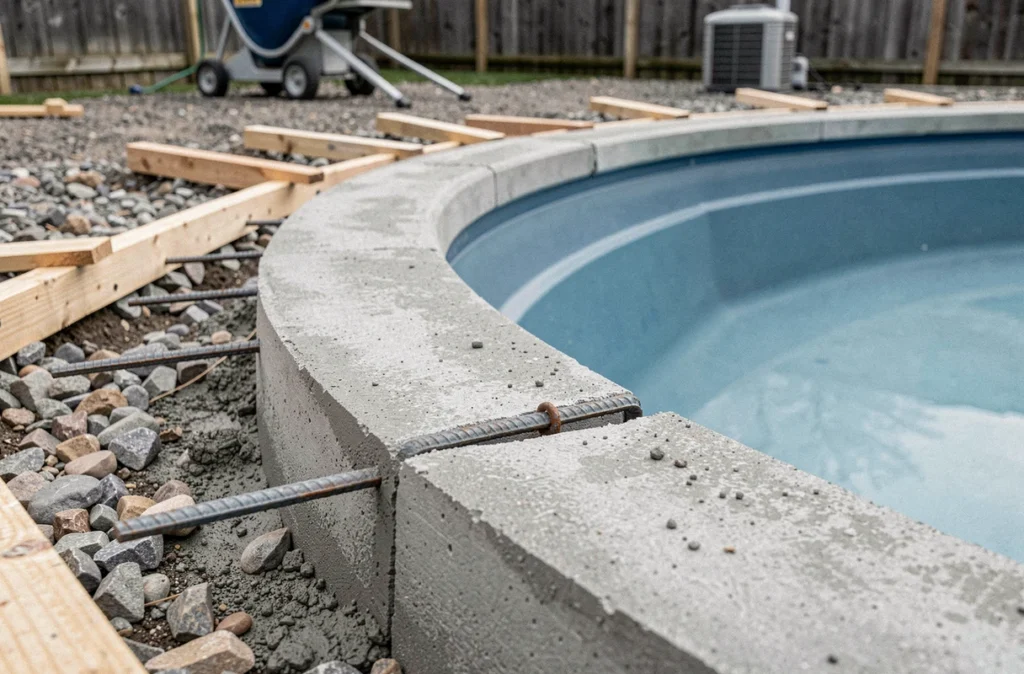
The width of the formwork directly depends on the type of coping planned. If we are installing overflow reconstituted stone coping, the belt must be wide enough to accommodate the full base of the coping, plus a safety margin. If it is too narrow, the coping will hang in the void and break under the weight of a user.
The height of the formwork is adjusted so that the top of the belt is flush with the desired finished level. It is generally planned for the surface of the concrete to be just below the coping, so that the adhesive or mortar used for installation ensures the joint.
- Secure the outer formwork with stakes driven into the ground every forty to fifty centimeters to prevent the pressure of the fresh concrete from deforming it
- Protect the lip of the shell with a film or wide adhesive tape to avoid damaging it during pouring
- Check the horizontal alignment of the formwork around the entire perimeter before reinforcing, not after
Reinforcement of the Concrete Belt: Connection with the Shell
The reinforcement transforms the belt into a structural element capable of withstanding ground movements. We use rebar, often eight or ten millimeters in diameter, assembled in a continuous frame around the entire perimeter.
The most frequently asked question on forums concerns the method of connecting the reinforcement to the shell. There are two schools of thought. The first involves drilling through the upper lip of the shell and the box below, then sliding a rebar across. This technique strongly bonds the belt to the pool, but it requires precise drilling to avoid damaging the shell below the waterline.
The second method, simpler, involves drilling only the lip and connecting the rebar to a pin. Opinions vary: some installers believe that a connection through the lip alone is insufficient, while others consider it adequate for standard-sized pools.
In any case, the reinforcement must form a closed loop without interruption at the corners. The corners are weak points: we cross the rebar with sufficient overlap and tie them with annealed wire.
Managing Pipe Penetrations
Return pipes, skimmer pipes, and bottom drain pipes pass through or just below the belt. We position the conduits before pouring and secure them to the formwork so they do not move under the pressure of the concrete. A poorly placed conduit requires breaking the fresh concrete to reposition the piping, which weakens the section.
Pouring Concrete and Vibration: Common Mistakes on Site
The concrete used for the belt must be sufficiently dosed with cement to ensure mechanical resistance suitable for a buried structure exposed to moisture. We prefer ready-mixed concrete delivered by truck, as the volume needed to go completely around a pool often exceeds what can be reasonably wasted in a concrete mixer.
The pouring is done in a single pass around the entire perimeter. A cold joint (an area where hardened concrete meets fresh concrete poured on another day) creates a weak point through which water can infiltrate. If the volume is too large for a single delivery, we plan for two trucks spaced a few minutes apart, not a few hours.
The vibration of the concrete eliminates air pockets trapped in the formwork. We use a vibrating needle that we move every thirty to forty centimeters along the formwork. Without vibration, the concrete presents surface rock pockets, porous areas that degrade quickly under freezing conditions.
- Do not vibrate directly against the shell to avoid cracking it; keep the needle a few centimeters away from the polyester wall
- Screed the top of the belt with a mason’s rule immediately after pouring, while the concrete is still plastic
- Keep the formwork in place for at least two days before stripping, longer in cold weather
Installing Coping on the Concrete Belt of the Shell Pool
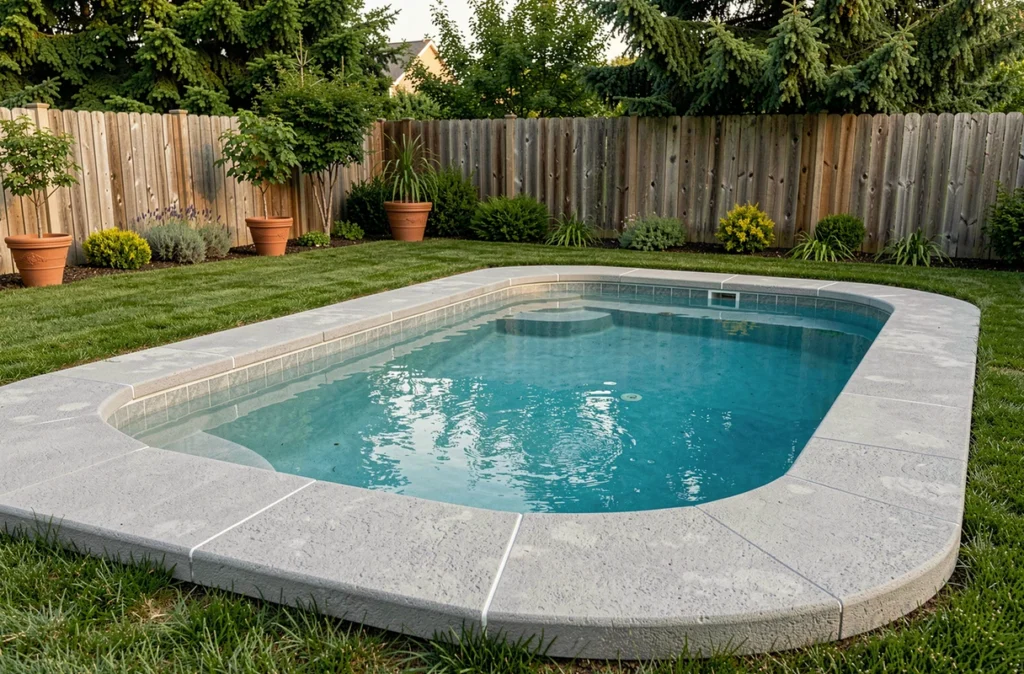
Once the belt is stripped and the concrete has sufficiently cured, we move on to installing the coping. The surface of the belt receives a layer of adhesive mortar or hybrid mortar on which each coping stone is set. Alignment is checked with a chalk line and level, stone by stone, starting with the corners.
The inner overhang of the coping slightly overhangs the water of the pool. This overhang protects the lip of the shell from UV rays and impacts, and gives the pool its visual finish. A flexible silicone joint between the coping and the shell absorbs the micro-differential movements between the concrete and the polyester, two materials that do not expand in the same way.
The concrete belt of a shell pool remains a classic masonry work, but carried out in a demanding context: proximity to water, disturbed soil, shell material sensitive to impacts. Each step conditions the next, and corrections made afterward always cost more than initial rigor.