
A knitted buttonhole that gapes, a cut thread that frays after the first wash: these disappointments resonate with anyone who has ever sewn buttons on a knitted project. The technique of making a buttonhole without cutting the thread avoids these issues by maintaining a continuous thread, which preserves the strength of the knitting. However, it is essential to master a few precise gestures, especially when the fabric is thick or stretchy.
Beeswax and holding thread: two preparations that change the result
Even before forming the buttonhole, the quality of the thread determines the clarity of the work. On wool or cotton thread, the fibers catch on each other and slow down the passage through the stitch. The thread pulls, twists, and the buttonhole loses its regularity.
Coating the thread with beeswax before sewing solves this problem. Pass the thread two or three times over a block of wax, then smooth it between your fingers to distribute the material. The thread glides better through the knitting, resists abrasion more effectively, and maintains an even tension.
The other preparation concerns the edge of the buttonhole. A holding thread (a contrasting thread slipped along the opening) serves as a guide while you embroider the buttonhole stitch. It prevents the stitches from deforming inward. You remove it at the end, once the stitches are tight. By following these tips for a buttonhole without cutting the thread, you achieve a solid base before moving on to the stitches themselves.
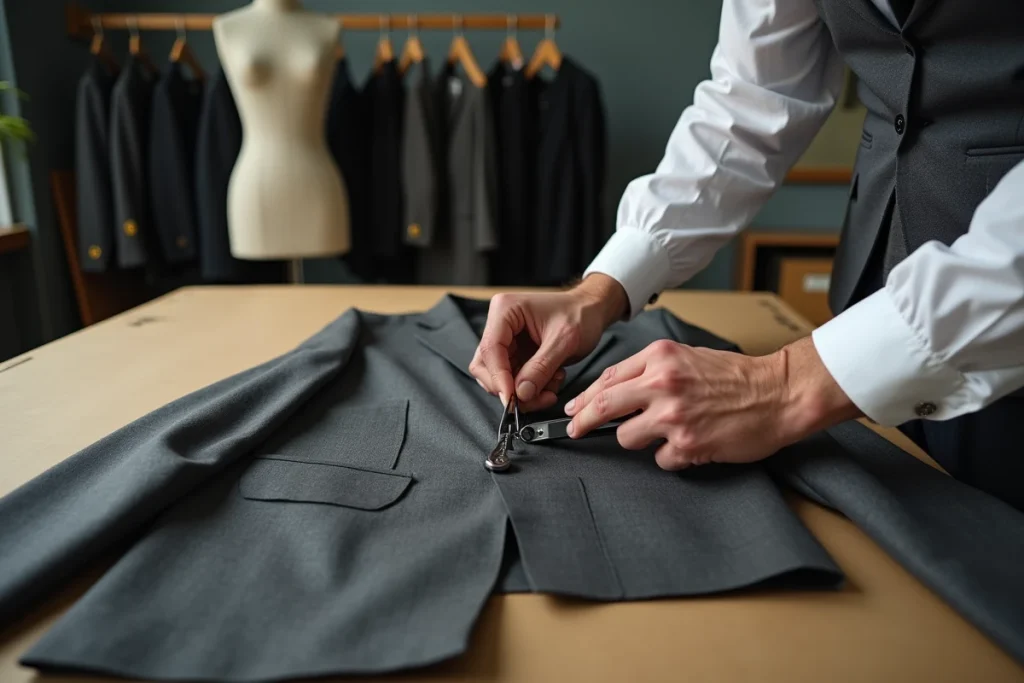
Buttonhole without cutting the thread on thick or stretchy fabric: avoiding distortions
Have you ever noticed that a perfect buttonhole on a fine sample becomes a disaster on thick wool? The thickness of the fabric alters the tension of each stitch. On stretchy jersey, the problem worsens: the stitch stretches as the needle passes through, and the buttonhole gradually widens.
Adjust the tension and needle to the fabric weight
On thick knitting, use a rounded-tip needle with a diameter larger than that of the thread. The needle separates the fibers without piercing them, preserving the structure of the stitch. A needle that is too fine forces the passage and distorts the edge of the buttonhole.
The tension of the sewing thread should remain moderate. Pulling too tight compresses the stitches and creates a rigid bulge around the opening. Pulling too loosely leaves visible loops. The right guideline: each stitch should hug the edge of the knitting without pinching it.
Repeated reinforcement stitches instead of a standard buttonhole
On very thick fabric, a simple row of buttonhole stitches is not enough to maintain the opening. Doubling the reinforcement stitches at the ends prevents the fabric from tearing with use. Specifically, form three or four overlapping stitches at each end of the buttonhole, passing the needle through the same hole each time.
On stretchy fabric (jersey, ribbed knit), add an extra step:
- Baste the outline of the buttonhole with a strong thread before embroidering the final stitches, to fix the shape of the opening
- Work the buttonhole stitch from the center towards each end, rather than from one end to the other, to distribute the tension symmetrically
- Slip a flat-head pin across each end during sewing to block the stretching of the stitch
Test the opening before attaching the button
This step is often overlooked, yet it prevents having to start over. Once the buttonhole is embroidered, place the button in the opening before sewing it. The button should pass through without forcing, but also without floating.
If the passage is too tight, do not widen the buttonhole by pulling on the stitches. Instead, use a fine hook to gently separate the central stitches. On stretchy knit, the fabric relaxes naturally after a few passes of the button.
If the passage is too wide, tighten the buttonhole by adding one or two extra stitches at one end. This correction remains invisible if you use thread of the same color.
Create a thread stem under the button
This technical detail greatly improves user comfort. When you sew the button, slip a matchstick or pin between the button and the fabric. Sew over it, then remove the support. You create a small thread stem between the button and the knitting.
This stem gives the button the necessary space to fit into the buttonhole without pulling on the surrounding fabric. Without it, the button flattens the fabric, the buttonhole distorts with each opening, and the knitting puckers around the closure.
Summary of materials for a clean knitted buttonhole
- Natural beeswax to smooth the thread before sewing
- Rounded-tip needle suitable for the thickness of the knitting (one size larger than the diameter of the thread)
- Contrasting holding thread, to be removed after finishing
- Flat-head pins to block the ends on stretchy fabric
- A matchstick or toothpick to form the stem under the button
The continuous thread protects the strength of the buttonhole in the long term. Each wash, each pass of the button stresses the same stitches. A cut thread creates a weak point that eventually gives way. By maintaining a single thread from the beginning to the end of the buttonhole, you distribute the tension along the entire length of the work, extending its lifespan without needing repairs.