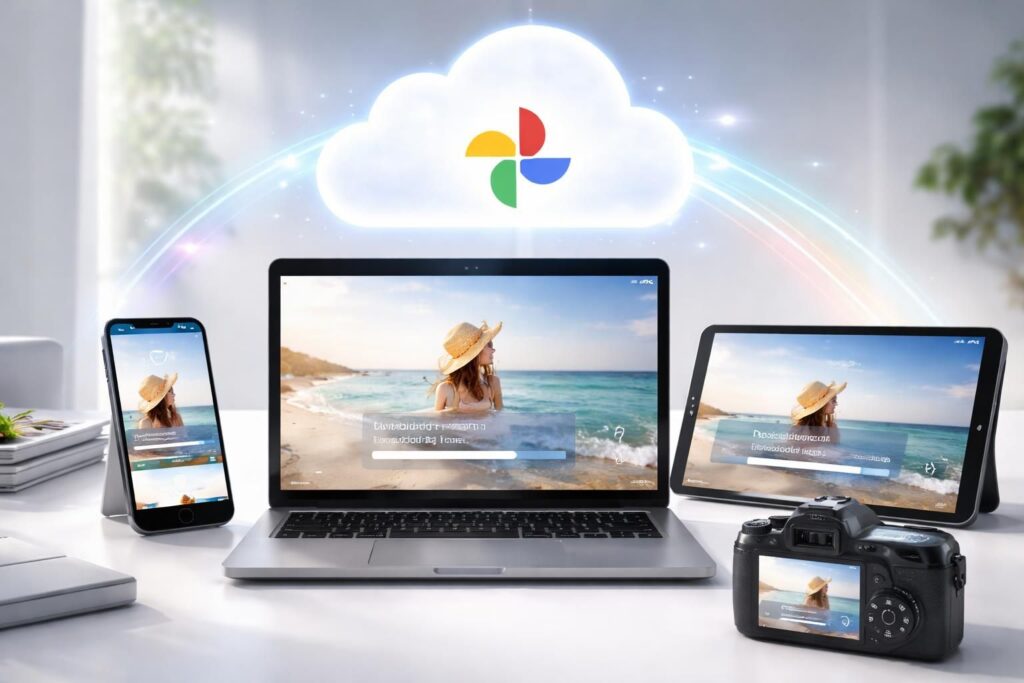
In a world where selfies, landscapes, and precious moments are constantly captured, managing these digital memories becomes essential. Google Photos is a popular solution, offering cloud space to back up and organize images. With its intuitive features, it allows users to easily view, edit, and share their photos from any device. From taking pictures on a smartphone to backing up on a computer, there are several methods to import photos into your Google Photos library. This article explores these options, guiding you through each of them.
Accessing Google Photos from Different Devices
To fully enjoy the features of Google Photos, it is important to know how to access it from various devices. This application is compatible with mobile devices, such as Android and iPhone smartphones, as well as Windows or Mac computers. Here are the steps for each type of device:
On a Mobile Device
To access Google Photos on a smartphone or tablet, follow these simple steps:
- Download the Google Photos app from the Play Store for Android or the App Store for iOS.
- Open the app and sign in with your Google account.
- Accept the necessary permissions to access your photos and videos.
Once logged in, you can start importing your photos. With automatic backup, images captured with your mobile camera are also backed up directly to Google Photos.
On a Computer
For those who prefer using a PC or Mac, accessing Google Photos is just as simple. Here are the steps:
- Open your web browser and go to photos.google.com.
- Sign in with your Google account.
- To import photos, click on the “+” button and then select “Import”.
You can select multiple files to import simultaneously, making the management of your online gallery more efficient.
Importing Photos from a Mobile Device to Google Photos
Importing photos from a mobile device to Google Photos can be done automatically or manually. In the case of automatic backup, images are sent to the cloud as soon as they are taken, ensuring their safety.
If you prefer to manage this manually, here’s how to proceed:
- Open the Google Photos app on your mobile device.
- Tap on the profile icon at the top right, then select “Enable Backup”.
- You can choose to use Wi-Fi or mobile data for this backup.
For more specific use, manual backup allows you to choose which photos you want to import. You need to long-press on an image, then select other photos to back up before confirming the action.
| Backup Type | Advantages | Disadvantages |
|---|---|---|
| Automatic Backup | Ease of use, data security. | Mobile data consumption if the option is enabled. |
| Manual Backup | Total control over which images are backed up. | Longer process, requires more user interaction. |
Importing Photos to Google Photos from a Computer
The procedure for importing photos from a computer to Google Photos is simple, but it requires a few steps. Here is a detailed guide to ensure a smooth transfer:
Direct Backup from the Browser
First, as already mentioned, you can go to the Google Photos website and start the import process. This is a direct method that does not require any third-party software installation. The steps are:
- Sign in to Google Photos.
- Click on “Import” to select the files you want to transfer.
- You can drag and drop files or browse your folders.
This method is very fast and allows you to immediately view the photos once imported.
Using Google Drive for Transfer
Another method is to use Google Drive to transfer your files. It works as follows:
- Upload your photos to Google Drive.
- Access Google Photos and select “Import from Google Drive”.
This allows you to manage your files more broadly while enjoying the benefits of Google Photos.
The Benefits of Cloud Photo Backup with Google Photos
Using Google Photos for backing up your images offers several advantages:
- Multi-device access: Backed-up photos can be viewed on any device connected to your Google account, whether it’s a smartphone, tablet, or computer.
- Secure cloud storage: With 15 GB of free space, you can store a multitude of files, and data security is guaranteed through robust protocols.
- Advanced editing tools: Google Photos includes innovative editing features, such as the Magic Eraser and Magic Editor, allowing you to enhance your photos before sharing.
- Smart organization: The app offers automatic albums based on events or people, making it easier to find memories.
Considerations for Managing Storage Space
Although Google offers generous storage space, it can quickly become insufficient for the most active users. In this case, solutions like Google One are available to extend storage. You can check your space usage via your Google account, allowing you to manage your files effectively.
Sharing Photos with Google Photos
Sharing photos is one of the most appreciated features of Google Photos. Here’s how this tool facilitates the sharing of memories:
- Direct sharing: After importing photos, you can share them directly via a link or send invitations to other Google Photos users.
- Shared albums: Creating shared albums allows multiple users to add their own content, which is particularly useful for events such as weddings or trips.
- Access rights management: Users can control who can view or share their albums, ensuring the privacy of images.
Impacts on Daily Life
Sharing photos contributes not only to the creation of collective memories but also to social engagement. Users are observed to share their experiences more often, fostering richer interactions with friends and family.
Conclusion on Importing Photos with Google Photos
Importing and managing photos via Google Photos is a beneficial practice for users, allowing them to back up, organize, and share memories from a variety of devices. With intuitive features and flexible storage options, Google Photos stands out as a key player in managing digital memories. By mastering these steps, it is possible to make the most of the platform, ensuring that every image is both secure and accessible.